/articles/understanding-digital-ocean-droplet-options-and-best-practices-79a104a6
Understanding Digital Ocean Droplet Options and Best Practices
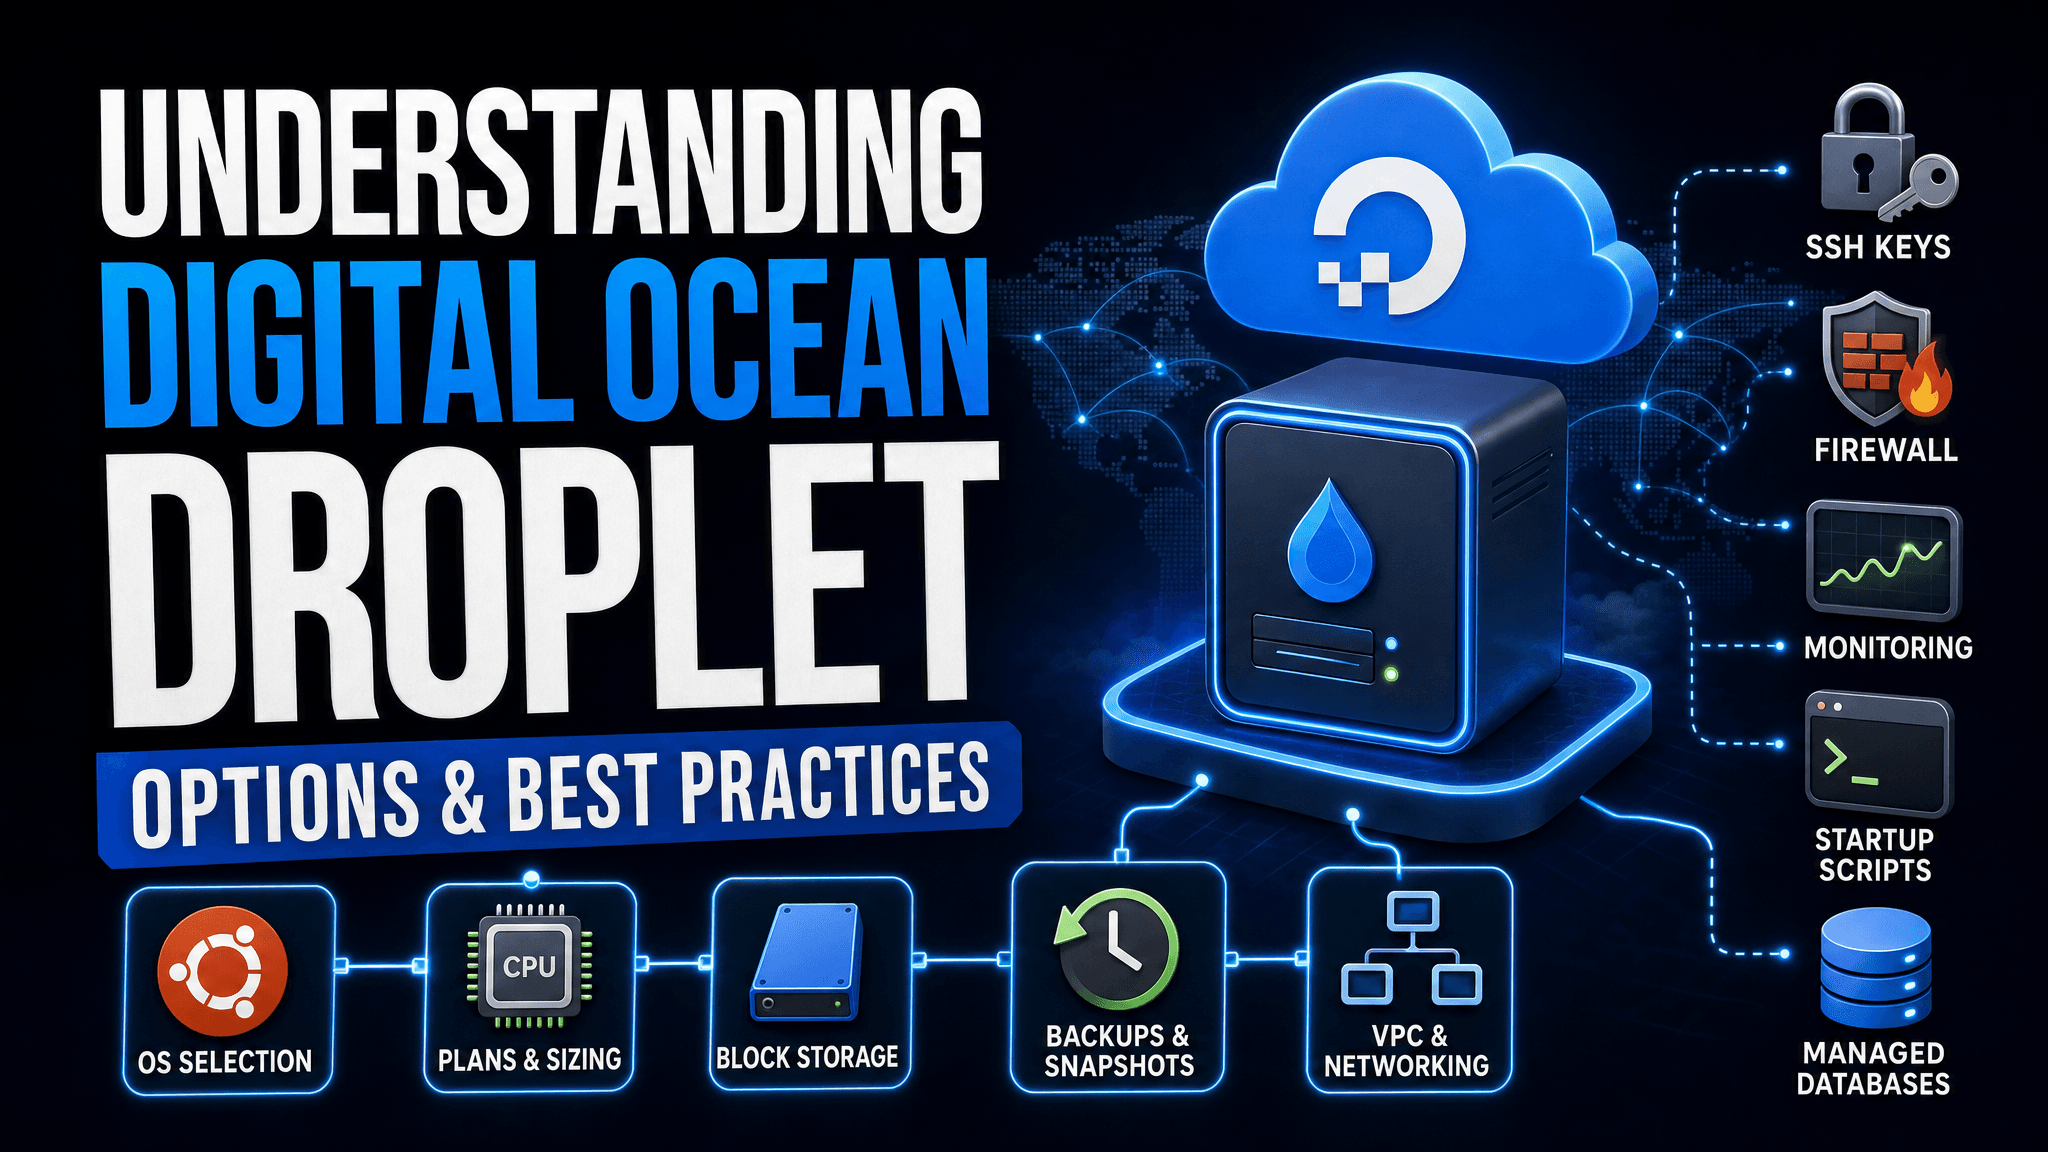
This article provides a detailed walkthrough of creating and configuring Digital Ocean Droplets, covering options for OS selection, Droplet plans, storage, backups, authentication, networking, monitoring, and additional setup features such as startup scripts and managed databases.
Digital Ocean Droplets Digital Ocean is my goto cloud provider. Primarily because of their combination of
Low starting price Range of services Simplicity Security In this Article I will walk you through creating a new Digital Ocean Virtual machine or Droplet, as Digital Ocean calls them.
Creating your Droplet
Signing up for a new account on Digital Ocean is simple and if you use this link, you get $5 of credit to try their services for free.
From the Home Page, select Compute => Droplets in the left hand menu.
This will show you a list of current droplets if you have any
Click The Create Droplet Button at the top right.
Select a location near to you, for me that’s London
Next select an image, there are four tabs to select from OS, Solutions, Agents, and Snapshots
OS
The OS Option gives you vanilla VM with nothing installed other than the OS of choice. From the drop down next to the OS, you can also select a version. I would recommend you select an LTS (Long Term Support) version.
Solutions
Solutions are pre configured VM’s installed with applications like Docker and WordPress, or databases such as MySQL or Postgres. Select this when you just want a quick preconfigured and ready to go solution.
Agents
The Agents tab gives you a few AI agents to choose from, like solutions, they create a VM pre installed with that Agent to save you time.
Snapshots
You can think of a snapshot as a backup. If you have taken a snapshot of a VM previously, you will find it in this list. You can create new VM’s from snapshots. Think of them like templates. So if you configuration you always like your new VM’s to have, you do it once, take a snapshot and use it create all new VM’s from.
In this instance I’m going to select OS and choose Ubuntu 24.04 (LTS)
Choose a Droplet Plan
Select from
Basic This is where multiple customers same the same block of CPUS. It is quite normal and is known as contention. In most cases you will not not notice, but it is possible you will see slow down on some occasions. Other than that you get balanced options of CPU, Memory and storage. General Purpose Dedicated CPU, with options providing a balance of CPU, Memory, and Storage. CPU Optimized Dedicated CPU, with more options for higher CPU counts Memory Optimized Dedicated CPU, but with more options for Droplets with more memory. Storage Optimized Dedicated CPU, but with more options for Droplets with greater storage capacity. After this, you can also select CPU Options,
Regular Intel – Uses older CPU models and slower SSD storage Premium Intel – Uses newer Intel CPU models and faster NVMe storage. Premium AMD – Uses newer AMD CPU models and faster NVMe storage. The combination of what you select above from Plan and CPU Options, filters the available Plans for you to select from
Comparing to Hetzner Pricing (Bit of a digression). Volumes Block Storage
If you have a service where the data storage requirements could grow over time, investing in an attached block storage drive could be very useful. You can start of with as little as 10GB an expand the drive as and when you need to at the click of a button.
You have the option to attach a new or existing drive to the Droplet. Chose your storage size, which starts at 10GB and can go up to 16 Terabytes.
You have a choice of Ext4 or XFS, I always prefer XFS over Ext4, but you do have a choice.
Choose to manually format and mount the drive when the Droplet is built. If you choose this option, you will find our drive mounted at /mnt/drive_name
Finally give the drive a name, this will be used as the directory name where the disk is mounted. i.e. /mnt/docker_data
Backups
If you are creating production VM where loss of data could cost you money, I would always recommend adding backups.
There are three options available
Weekly backups – 20% of the cost of the Droplet per month Daily backups – 30% of the cost of the Droplet per month Usage Based – See below
This new usage based pricing looks very attractive, although retention is limited to 7 days, so you might also want to chose a weekly backup as well. Full details are backup pricing are here https://docs.digitalocean.com/products/backups/details/pricing/
Authentication
You have two options:
SSH Keys Password You really should choose SSH Keys, it is much safer
You can add a new key or choose from an existing key. In this case I have already stored the public key for the key pair I have on my MacBook.
I will be creating a new article soon on how to add SSH keys to Digital Ocean.
If you do choose the password option, Digital Ocean do warn you of the security risks in doing so.
Networking
You three options here.
IPV4 – You probably want this option IPV6 – You probably don’t want this Neither IPV4 or IPV6 – You probably don’t want this IPV4 is what you will choose 99% of the time, I won’t go into the details of IPV4 vs IPV6 here.
If you choose neither, it will make the Droplet private without direct access to the internet, and further more you will not be able to attach a public IP Address to the Droplet in the future, so be warned. In private mode, the VM will still have a private internal IP address and you would have to create another VM on the same subnet to connect to it. Unless you know you want an Air Gapped VM, just choose IPV4.
Monitoring
This is well worth adding, as it gives you more insight into the Droplet performance than you otherwise would have. By ticking this box, the enhanced metrics agent will be installed for you. If you don’t install it now but decided you want it later, there are instructions about how to do that here https://docs.digitalocean.com/products/monitoring/how-to/install-metrics-agent/
Additional Options
This section provides you with two options
Startup Options A managed database The start up script option uses cloud-init to further customize the VM at start up. cloud-init scripts are useful when you have a standard configuration you want to use on a regular basis. You just paste in your script and it will be applied when the server boots. It allows you to do almost anything you could at the command line manually, but is most commonly used for adding things like user accounts and attaching to network drives etc.
The managed database option is not to install a database on the Droplet, but instead to give you access to a managed database cluster as well as this droplet you are creating. So the $15 per month, would be on top of the price of the droplet. This is a popular option, if you were using this droplet to host a web app which also required a database, a very common requirement. This option saves you configuring the database separately. There are also costs associated with storage. The database options you have are MongoDB, MySQL, and PostgreSQL
Quantity and Droplet Name
Next choose the number of VM’s you want to create. Below this, you can give your Droplet a name. if you choose more than one Droplet, you will be given multiple boxes with which to name each VM, like in the example below
Finalize
The last section allows you to choose a project and tags.
Projects allow you to separate your Droplets and other Digital Ocean services into, well, projects. Useful segregating your resource into logical groups. Digital Ocean offers other ways of segregation as well, namely, Teams and Organisations.
Finally you can add tags to further identify and group resources.
Create the Droplet
When you have everything configured as you wish, hit the Create Droplet button in the summary section. Here you will also see a summary of all your chosen settings as well as the monthly price.
Tags: Digital Ocean, Droplet, Linux, Virtual Machine
Comments and likes
Sign in or create an account to leave a comment or like this page.
0 comments
No comments yet.